

There comes a time when your daytime duties and the weather don’t sync up. You’re all set to take some fab photos, subjects blu-tacked in place, accessories just right, you have a solid block of time with no potential interruptions on the horizon… and the sun just doesn’t make an appearance. At all. Or you’ve just sat down to film a video you’re really excited about and suddenly the lighting goes haywire. Or the only times you get to take photos/film anything are very early in the morning or very late at night when the ‘natural light’ we covet so much is non-existent.
There comes a time when you start looking into getting some help with the lighting issue, and look into the more artificial side of things – where things can get very overwhelming very quickly.
I’ve just picked up my first set of softbox lights, and thought that I’d talk a little bit about the alternatives on the market at different price points, so if you’re looking for a smidgen of extra help through the winter you know what’s on offer. I’m not a professional photographer by any means, and there are options that I don’t cover here, but I hope that it’s a useful introduction of sorts.
There are many forms of ‘studio’ or artificial lighting. You may have heard the terms ‘softboxes’, ‘light tents’, ‘ring lights’, ‘reflectors’, or ‘umbrellas’ to name a few of the various bits of equipment available to build photography studios or sets, and these all come at a range of different price points depending on the quality, quantity, and size of what you’re after. Thankfully, for a home set-up, you won’t be looking at getting a lot of the equipment options photography studios have (unless you really want to).
From my own experience, the three main reasons for investing in studio lighting were: product photography – I have a nice, white (fixed) desk that doesn’t get fab lighting during certain times of the day; evening out, or more consistent lighting in my youtube videos – having to adjust the exposure whenever the sun goes in/comes out means over exposed or footage that is too dark and awkward to correct in post; adding more hours to my day for filming or photographing, or being able to photograph and film in poor natural light conditions.
Pretty standard, ey? So what’s available?
cheapest options:
If you’re low on extra funds, or don’t want to splash too much cash on indoor solutions because you’re blessed with beautiful large windows or a lot of fab sunlight, then:
daylight bulbs
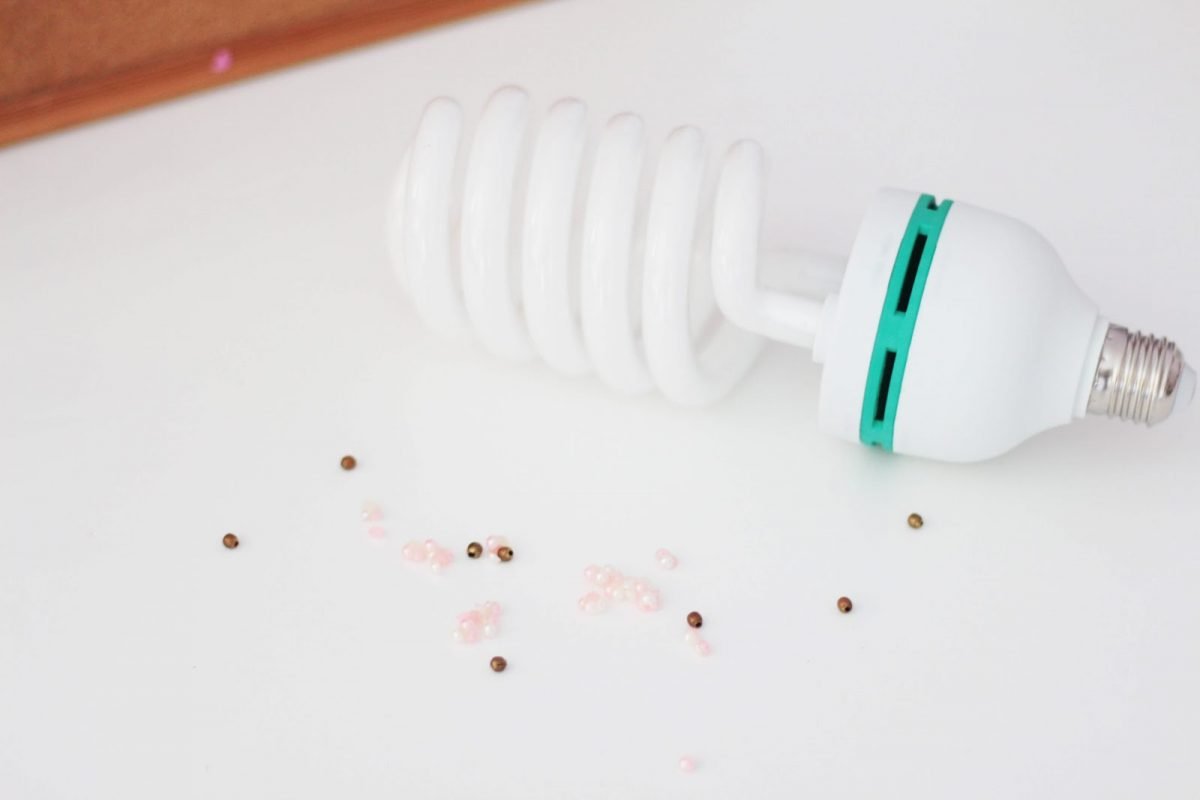
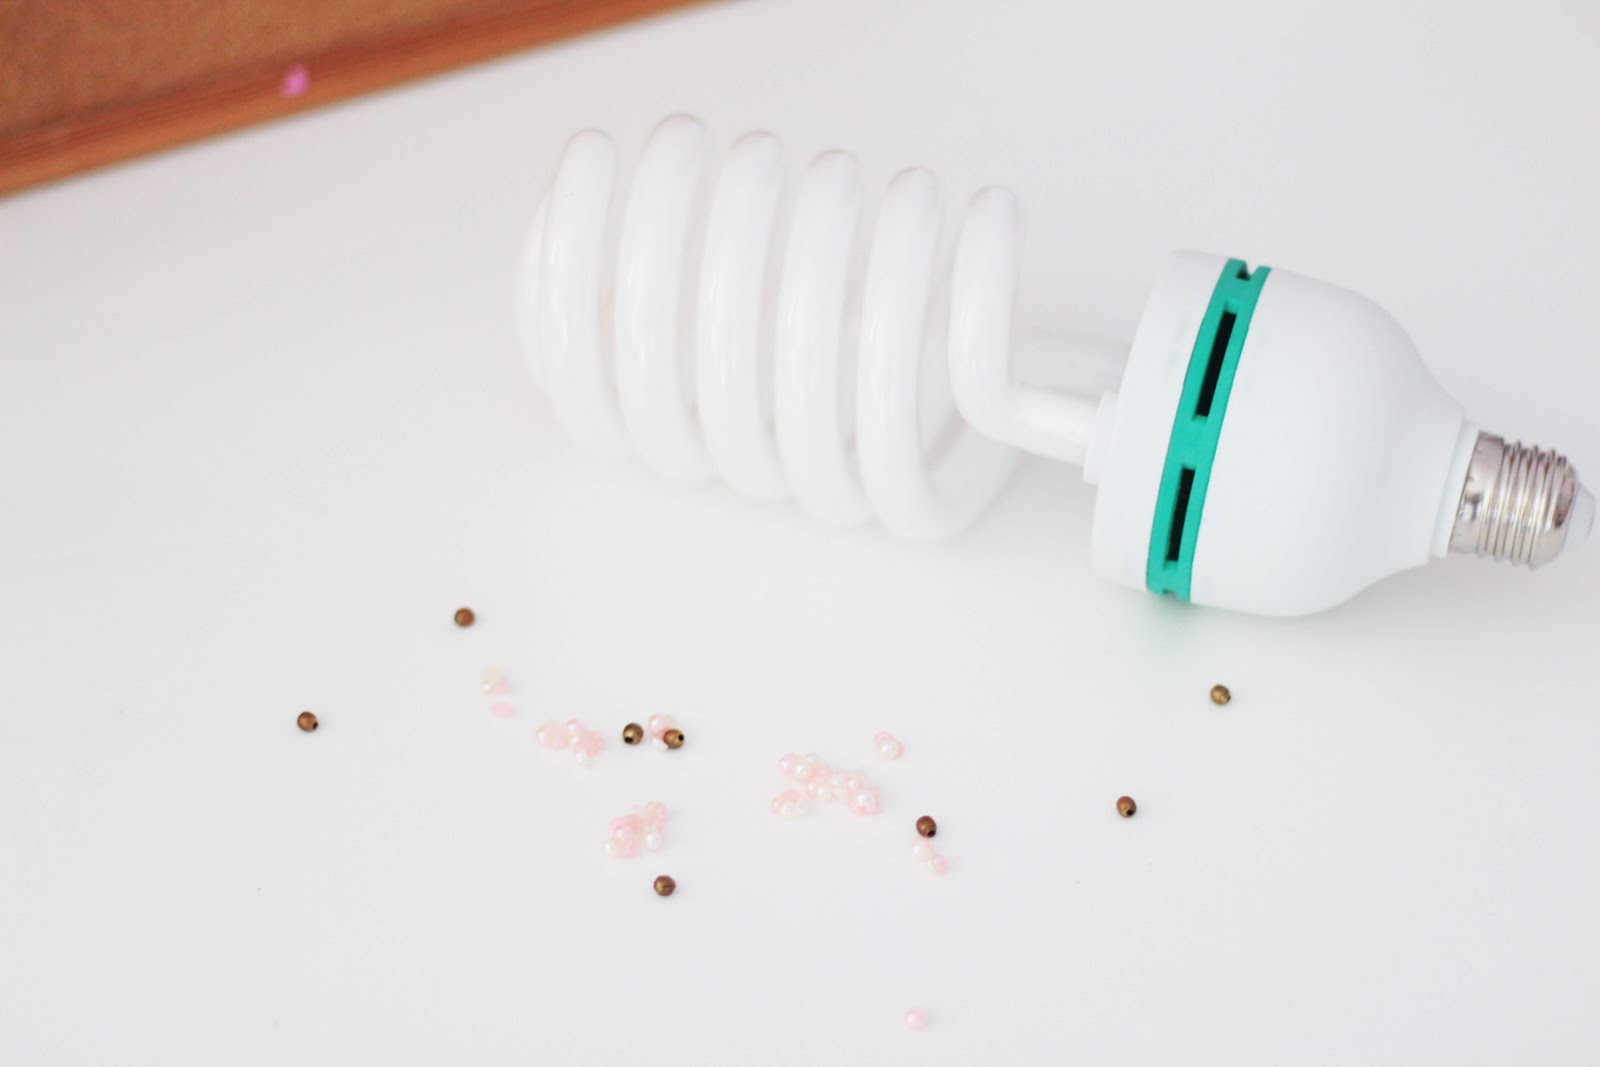
Swap (where possible) your warm-toned indoor lights for cooler-toned daylight bulbs. There are a range of different types to choose from so a bit of research is probably the best way to go. LEDs are popular, as well as energy saving options, and it’s useful to know that some bulbs contain mercury so require extra cautious handling and storage when not in use to avoid contamination. If you can’t find daylight bulbs, then swap warm or yellow-toned bulbs for those with a cooler output (3000-5000k, it should say somewhere on the box) so you can mimic daylight as closely as possible.
Daylight bulbs also help offset things like Seasonal Affective Disorder, so it’s not just for the blog – it’s helping you stay happy too.
diy light tents
There are various ways to create light tents if you’re on a tight budget; from cube shapes to card backdrops, you’ll find something that fits both your price point and your needs.
The absolute cheapest way is to find some large sheets of white card or very thin poster board as your base and backdrop (or ‘sweep’), secure it to a wall near a window so it curves onto the floor or a table, and fashion smaller sections of card or foam board into reflectors to sit opposite your light source so they can bounce light back onto your objects. You don’t want any folds in your backdrop for the optimal image for product photography. A great tutorial on this setup is over on the shopify website.
Alternatively, you can fashion a cube shaped light tent for your photography needs if you have cardboard, white fabric or very thin paper, and a few opposable lamps handy. This method is very useful if you can’t have things taped to walls for fear of paint peeling, but does have some restrictions on size, as it’s dependent on the size of the tent you make. There’s a fab inexpensive DIY light tent tutorial over on Digital Photography School if you think this might be the thing for you.
reflectors
A reflectors job is to bounce any light you have from a source back onto the object you’re taking photos of. You can buy these from amazon, eBay, or photography prop sites, but you can also make your own out of card or foam board if you’re feeling crafty. Depending on what you’re taking photos of – objects generally require smaller reflectors than people – depends on the size and thus the price. Reflectors are really handy to have around for any sort of shoot, though having an extra pair of hands to man one when it comes to ootds is sometimes hard to source.
Sometimes reflectors are referred to as ‘fill lights’ (also additional lights in a set up are referred to as fill lights), as they fill a gap in the light source to let more detail show in certain products. They’re fab for shooting very dark items.
diffusers
Sometimes the lighting options are still too warm, harsh, or generally not what you want – so diffusers are often used to change the colour. Remember coloured filters in primary science classes? Using coloured tissue paper or acetate (if you have that on hand) as a light diffuser alters the colours that are hitting the object. Tissue paper is best for open bulbs for a short time – bulbs get warm – acetate is better to stand in front as it’s less moldable. Alternatively, you can get lens filters for your camera that are fairly inexpensive.
umbrellas
Diffusion umbrellas and bounce (reflector) umbrellas are cheap additions to a photography setup if you want something a little less DIY, or easy to store.
mid-price options:
Mid-price options are where we start seeing a range of softboxes, external lighting sources past your average lamp, camera mounted hot lights and the more ~expensive~ end of the DIY setups. This is the point where everything gets very much more. There’s an actual overwhelming amount of choice, prices, people telling you what to get or what to try, and the point where you know whether or not this is going to be a long term thing if you’re spending money.
softboxes
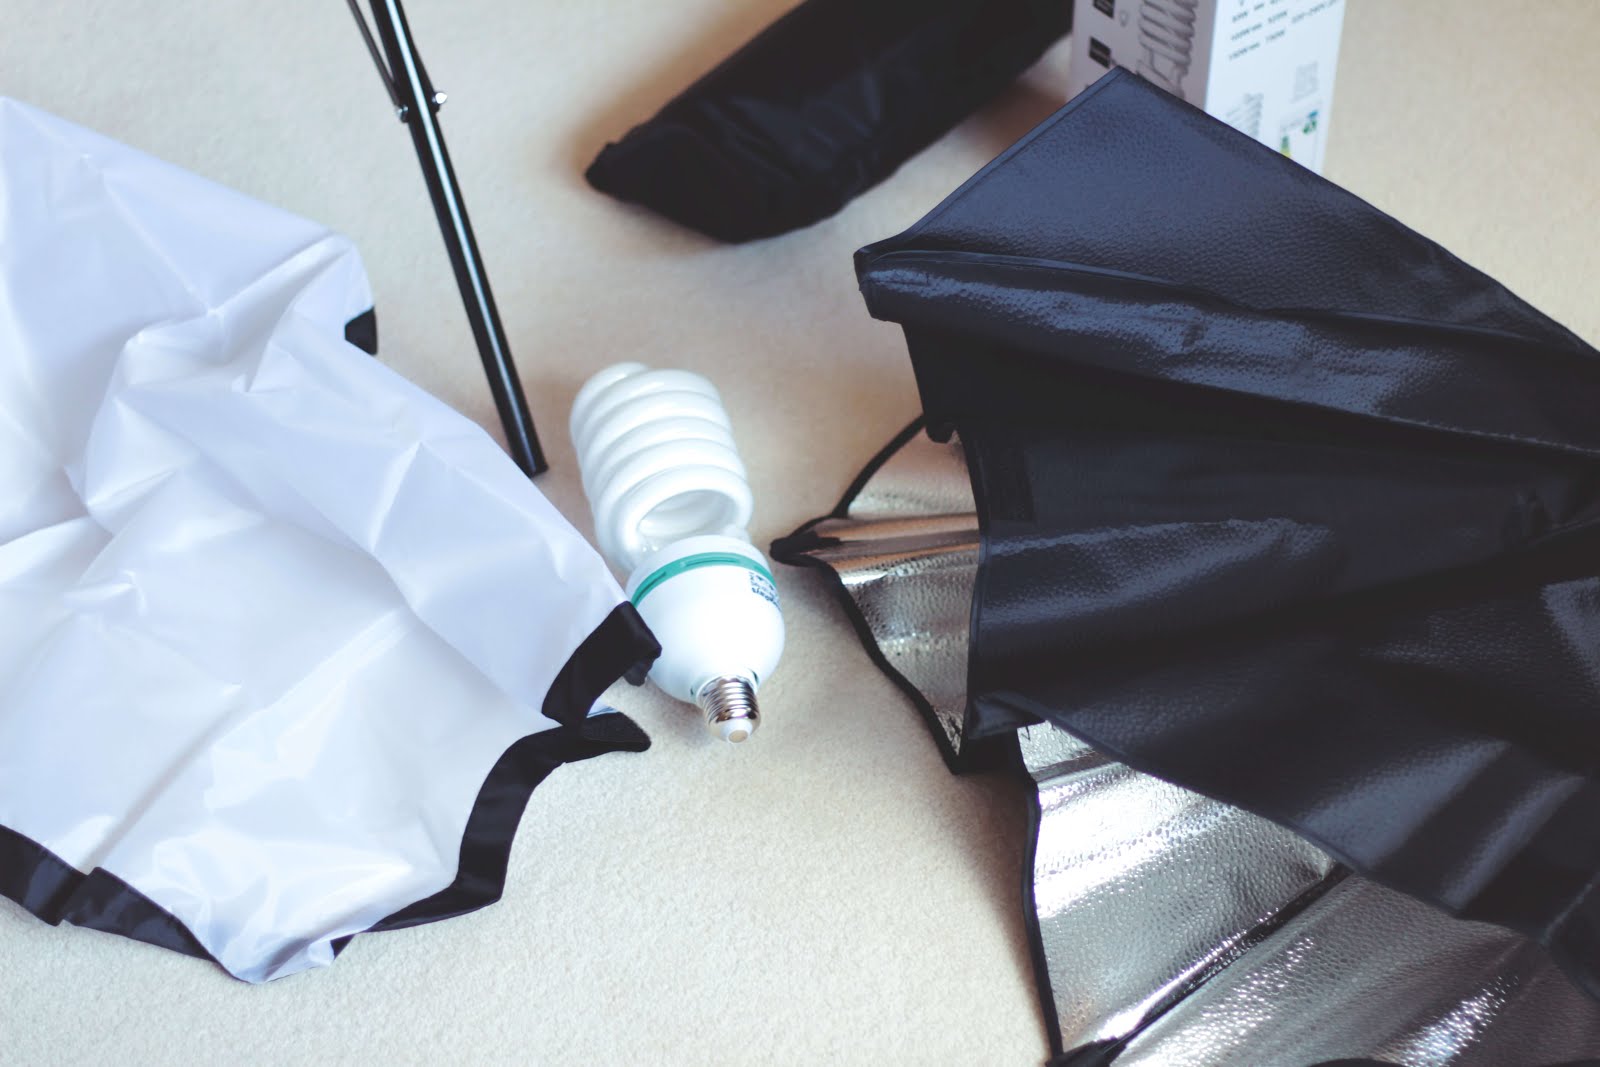
One of the most popular forms of steady lighting. They range from fairly inexpensive (around £35 for two) to very expensive, and come in a variety of shapes and sizes. The softbox aims to mimic light through a window, with a daylight or white light bulb fastened into the hood with a white diffuser to soften the light. They’re ‘steady’ lights due to their fixed nature, most softboxes will come with tripods to mount, and are popular setups for maintaining a consistent light in youtube videos and portrait photos. It’s best to get a pair if this is why you’re wanting lighting, as you avoid any odd shadows on the face with two light sources.
The softbox is what I plumped for, as they best fit what I wanted at my price point.
camera mounted lights
If you don’t have room or storage space for large external lighting, then a camera mounted light might be an option. I’ve seen quite a few around, both in workshops and on the Fashion Week circuit, and they’re an interesting option for that extra boost. Especially if you don’t have time to do the whole lighting set up rigmarole that comes with soft boxes or DIY options.
Camera mounted lights are pretty much what they say on the tin, the light affixes to the hot shoe of the camera, and provides a light source that is battery powered and moves with the camera. They’re used a lot in interviews and video filming to illuminate when there isn’t the time or space for an external light setup. The downside however, is that a lot of camera mounted lights are harsh, intense light sources that don’t necessarily illuminate in a flattering way, so a diffuser is almost always necessary if you’re wanting to shoot portrait or video. There are some ridiculously affordable LED camera mounted lights around though, as photofocus has reviewed.
diy studios
If you’re looking for clean backgrounds on a larger scale, then getting a backdrop is probably something you’re interested in. You can do this for an absolute steal with large sections of coloured card, or paint walls if you’re so inclined. But for ease you can also get photographic backgrounds of various sizes to be the ‘sweep’ of the DIY I mentioned earlier, but on a much larger, more durable scale. I know this is a popular option for some youtubers, as it allows you to change the look of locations without resorting to paint or scouting outdoors. Once you’ve got the initial support system, you can swap out the coloured backgrounds fairly easily if white, black, or green aren’t your favourites.
pricey options
If you’ve got the money to spend on some serious setup, or are making an investment in the longevity of your kit, then there are the more expensive versions of the softboxes and camera mounted lights. Additionally, you have the choice of:
strobe or hot lighting kits
These are basically standalone lamps that provide massive versatility in lighting an environment. You know, the sort you find in photography studios. You’ll need umbrellas to affix to them to bounce the light around or diffuse it if you’re just buying the lights, but you can get pretty comprehensive kits now that are suitable for beginners right through to pros, so there’s something for everyone.
ring lights
Incredibly popular with the beauty youtube/instagram scene, you can tell who has a ring light by the tell-tale circle of light reflected in the eyes. They’re fab pieces of kit, but for long-lasting decent products they are not cheap. Many consider them well worth the investment, as the circle of light illuminates the face in a way that the camera mounted lights can’t (no dodgy or deep shadows cast), they don’t generally need a reflector, you can pop your camera lens through them and they don’t take up a lot of space at all.
Downside is, some of the cheaper options use mercury in the lights, so you have to be incredibly careful with them to ensure they’re not damaged.
Investing in lighting is definitely not a necessity for blog photography or youtube videos, you can achieve wonders with natural light and it will always be my first choice when shooting. Additionally, learning how to use the white balance and light settings on DSLRs and the benefits of powerful editing software can remove the need for studio lights, but if neither of those options are available they’re a useful tool to have.
I hope this is somewhat helpful! If you have studio lights yourself, what did you get and why? If you’re looking into them, what are you thinking of getting? Let me know!
♥


What a brilliant post! And so informative! Definitely bookmarking this. Thank you:)Cityscape Bliss // Milky tea cocktail with rum & cinnamon (YUM!)
omg there are so many options out there! i have only been using natural light since the place I live at is sunny all year long so I never needed it before but sometimes when I fail to get photos done by evening, it just frustrates me so much to wait for the sun to rise again so i can take photos. I have been thinking about photo lighting but never actually considered being serious like SERIOUS Noor | Noor's Place
This is SO helpful, thank you!