
A month or so ago I bit the bullet and bought artificial lighting to help me take blog photos at any time of day (or night), and to help even out the lighting issues the british winter weather lights to throw at me when filming youtube videos indoors.
One of the issues I found while I was deciding which lights to get (and also when compiling my introduction to artificial lighting for bloggers and youtubers) was that you’re kind of buying blind if you choose to go down the artificial route. Sure you can sort of see how the light evens out with a studio setup for the youtube side of things, but photography wise it’s hard to tell what the benefit is until you get them.
So I thought I’d show some natural light shots vs the different set ups with the softbox.
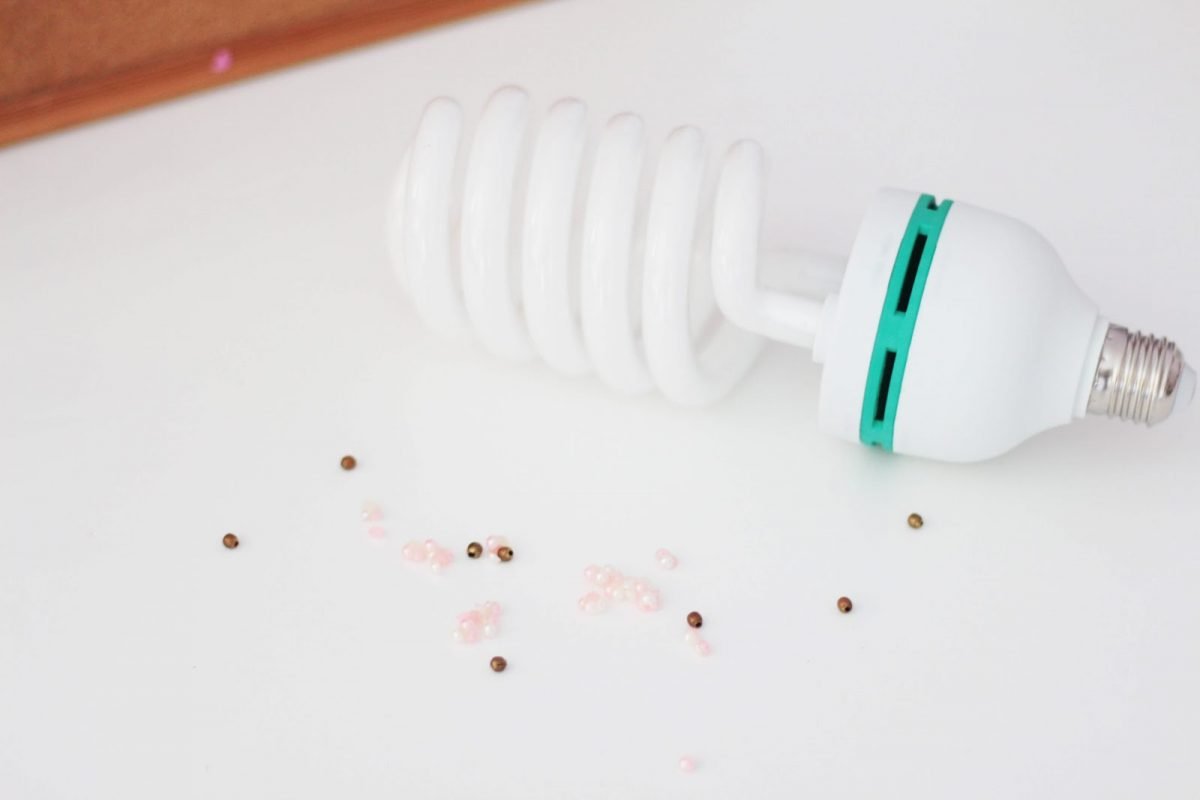
The down-side of softboxes is that they are really not small. They take a little while to put together, mine come in four parts: the tripod, the umbrella/box, the diffuser, and the lamp. I got mine from Amazon at around £35 for a pair – and yup, they are Chinese made. I didn’t really want to spend a vast amount on them and never use them, so thought that testing out a cheap-ish make would be a better idea. Everything works absolutely fine, though I had to remove a fixed inner ring so I could fit the bulb in. The daylight bulbs I’ve got a fecking massive. They also contain mercury so I’m going to have to be really, really careful with storage and handling. They’re also not the coolest toned bulbs available, though they don’t have the yellow/orange tinge that my regular household bulbs do.
Ok, onto comparisons. I’ve picked two photos for each type of lighting that I feel show the way the light works quite well, almost all have been on the blog before.
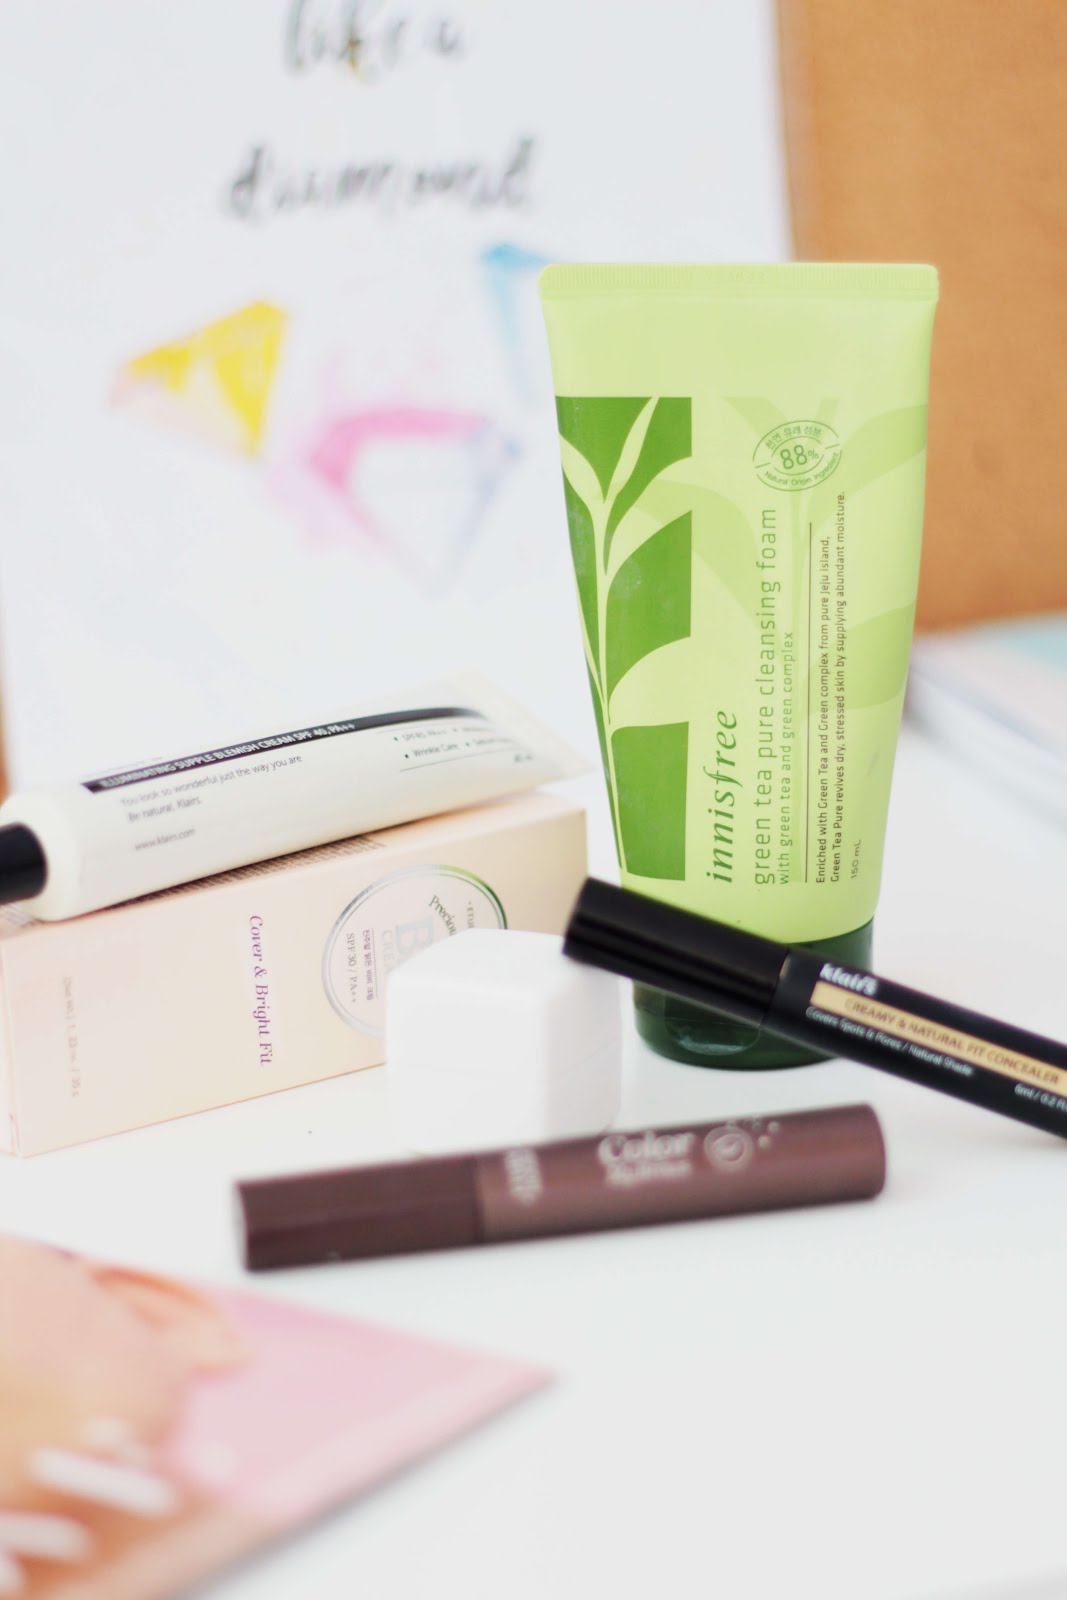
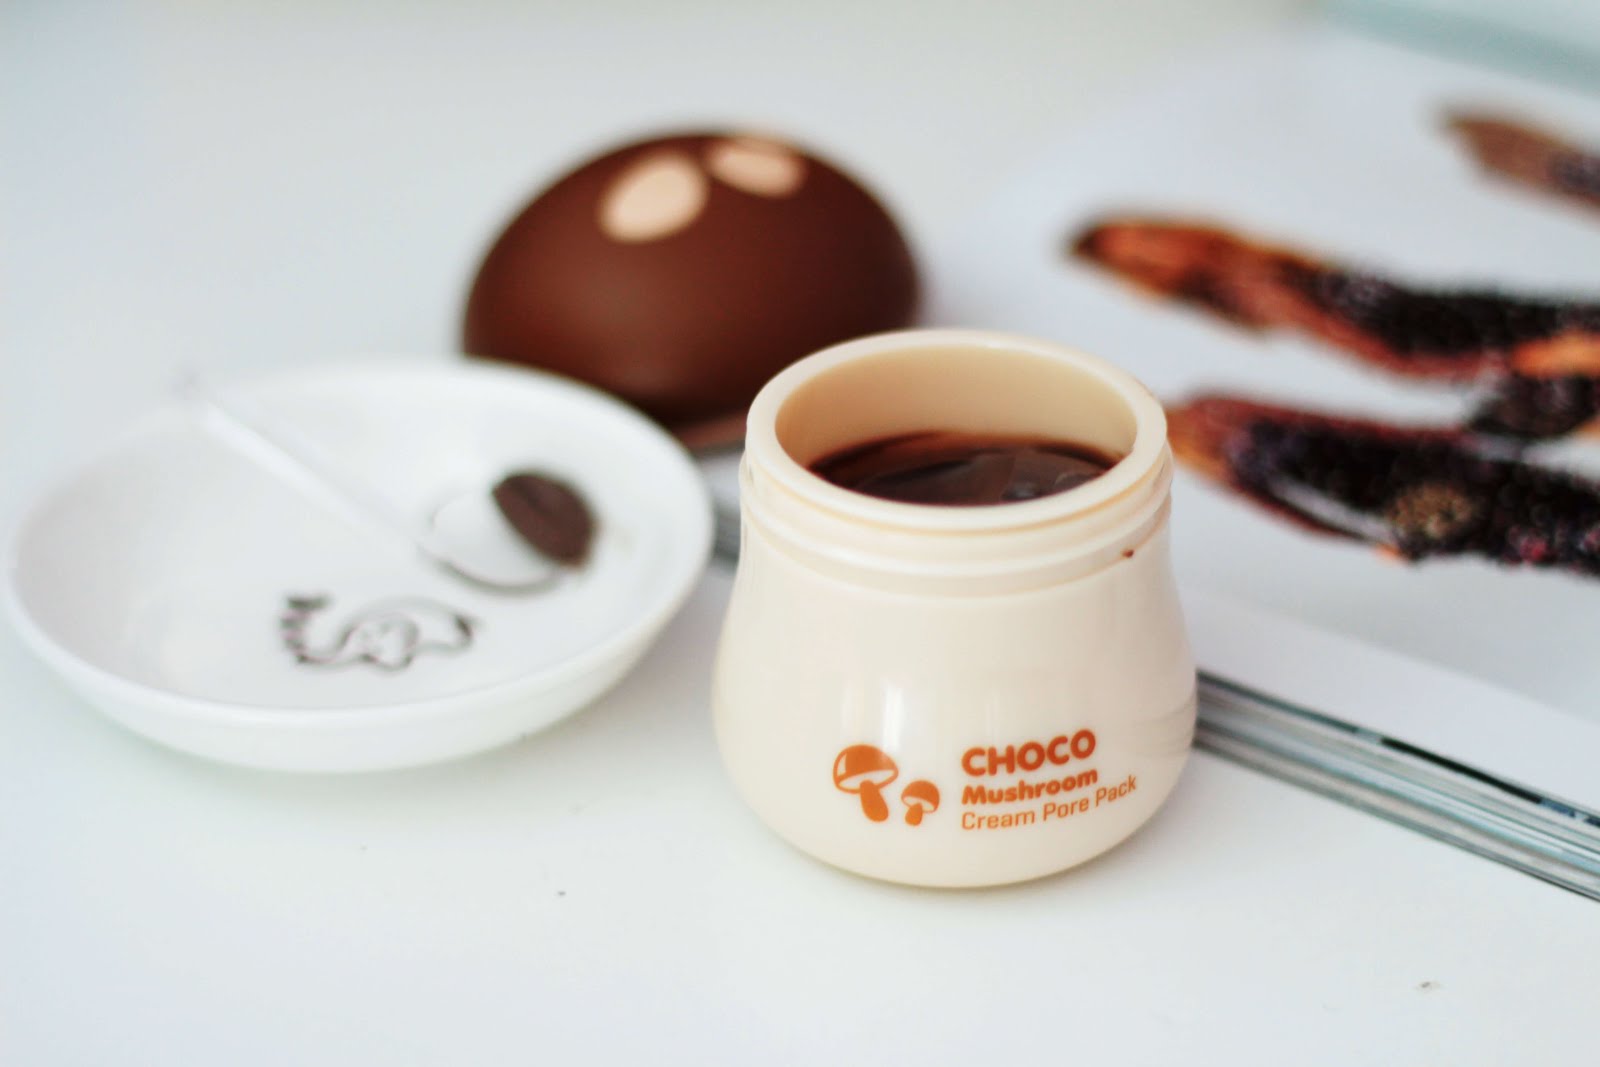
natural daylight
 |
| read more: breaking down Korean Cosmetics and what is or isn’t cruelty free |
 |
| read more: tonymoly beauty food choco mushroom cream pore pack review |
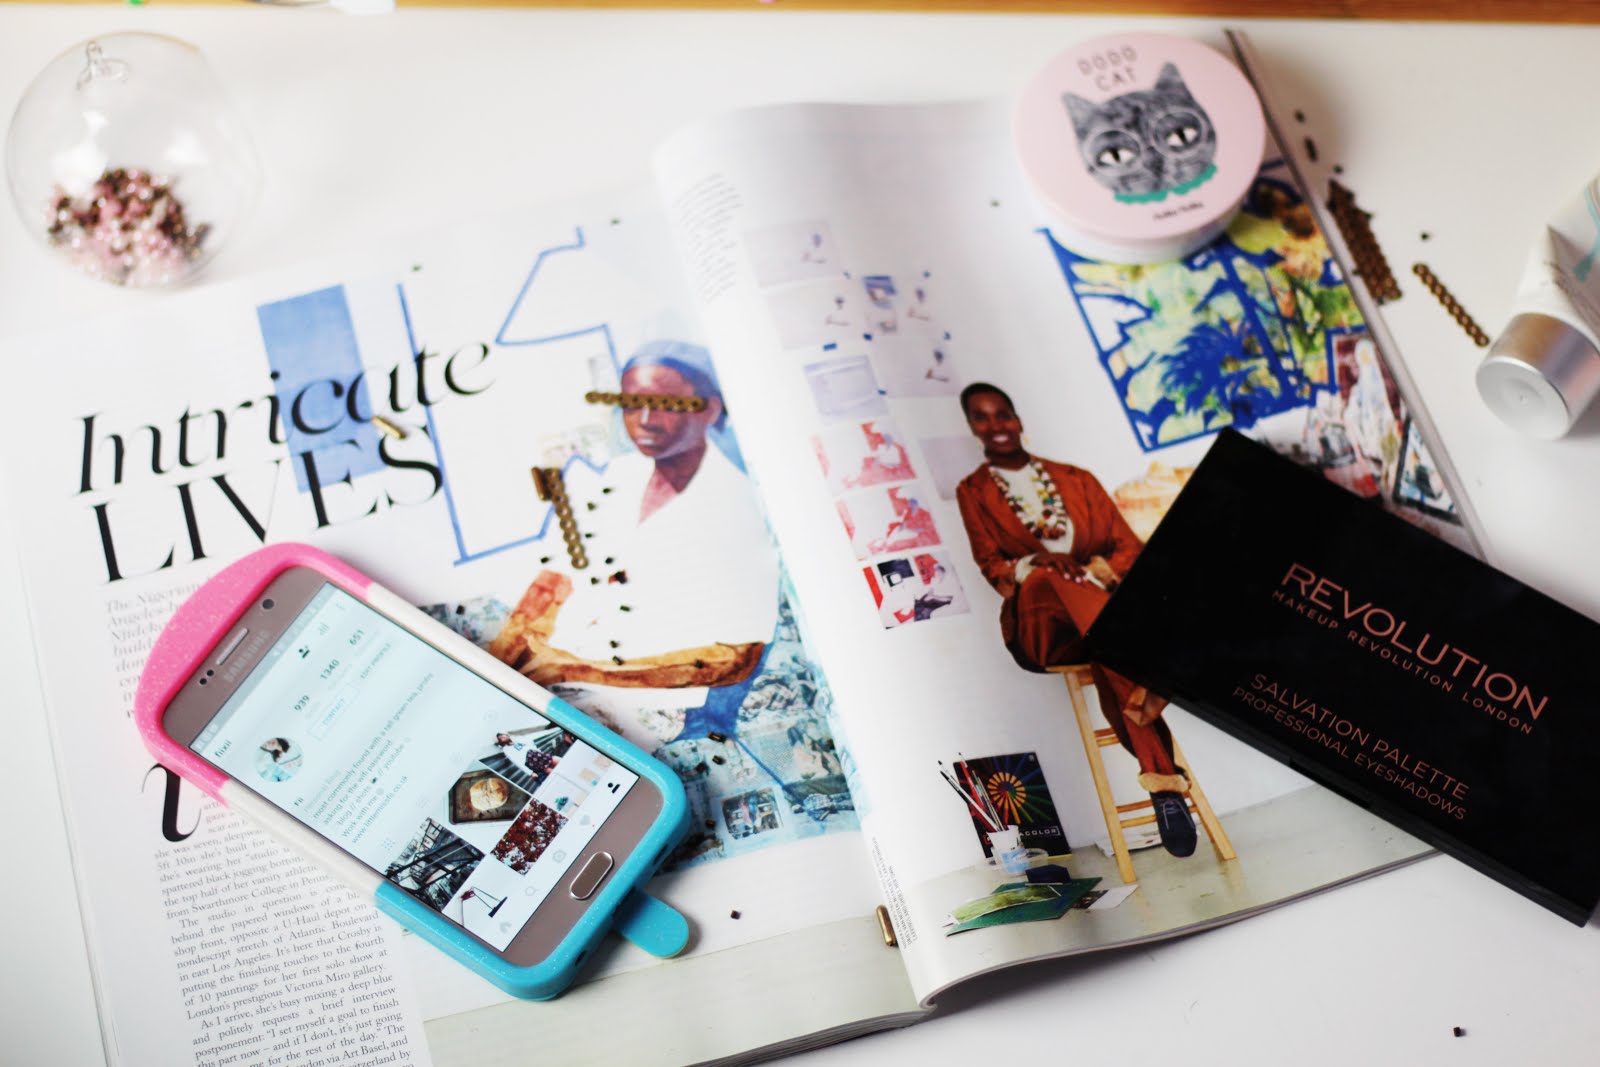
Still by far my favourite light source for taking photos. The light is both softer and cleaner.
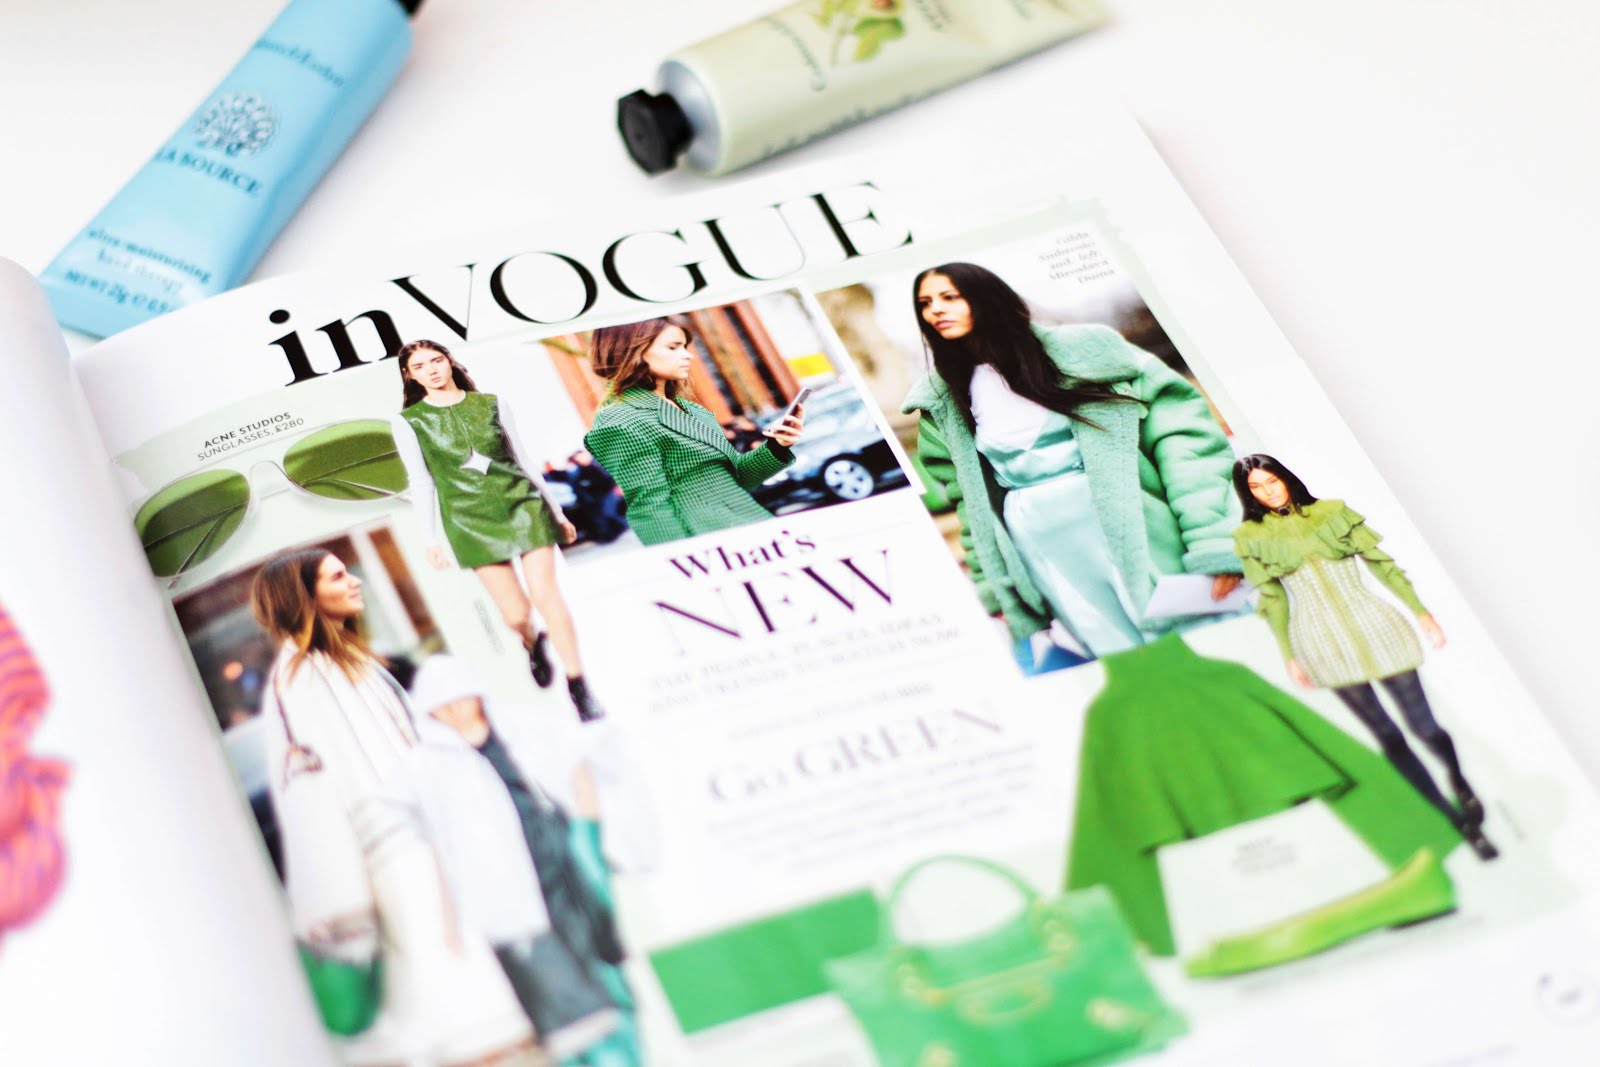
one softbox light
 |
| read more: the rise of the fashion blogger and thoughts on that US Vogue piece |
 |
| read more: black mirror’s nosedive, how close are we to that future |
I find editing from this setup quite hard sometimes – the light can be quite harsh and shadows really pronounced because there’s only one source. It’s fine in a pinch but I feel that it doesn’t necessarily give a particularly natural effect, or requires more retouching.
twin softbox setup
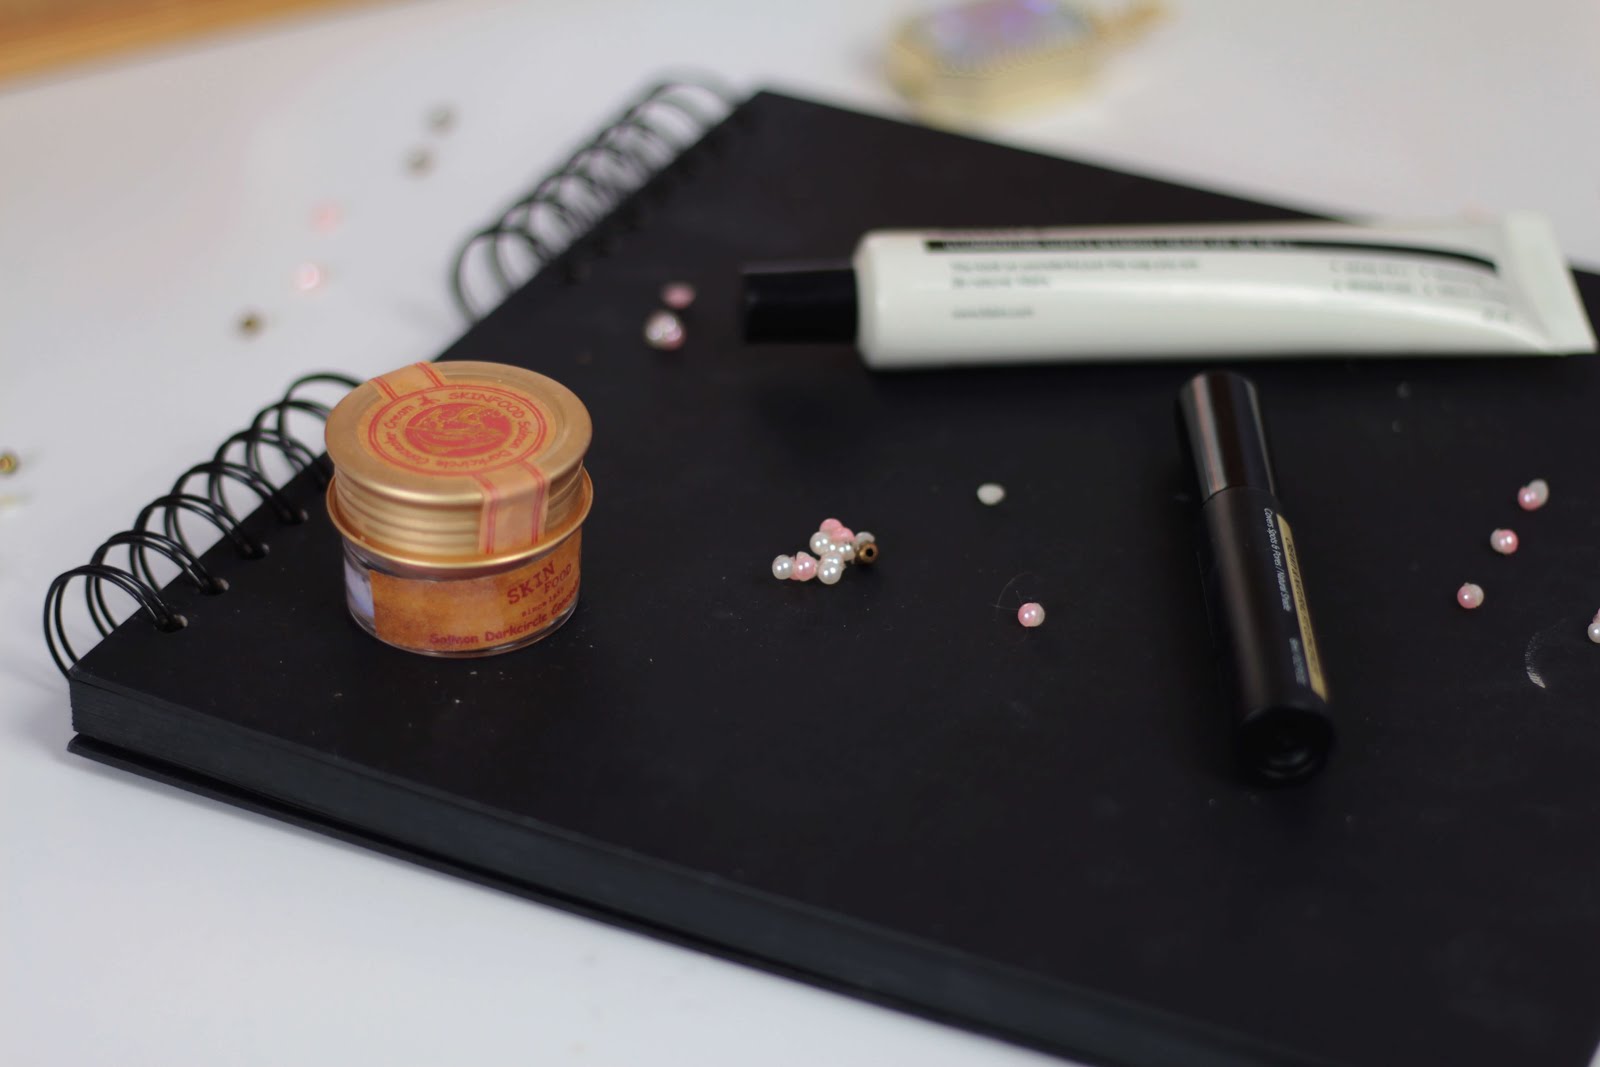
The setup for this is a light to the left hand side of the ‘set’ and one to the front (since the back is a wall), so you end up with light crossing what I’m taking photos of from two points.
This sort of setup is a lot more natural looking, and softer than just one softbox as a light source. The shadows aren’t as pronounced and editing is a lot easier. The downside is it takes double the time to set up, and double the room. Though going into winter I really don’t mind the added time as if I can get photos I’m happy with at any time of day.
I’m yet to try the boxes out for filming (this weekend, hopefully!), but I hope this has helped provide a bit of a visual for those who are looking at artificial lighting and aren’t sure if it’s worth it. I’m definitely patting myself on the back the days when I need to get blog or instagram shots done but didn’t manage to do it during daylight hours – or if the weather is ridiculously overcast and natural sunlight is very scarce.
If you have any other questions don’t hesitate to ask! I’ll try and answer as best I can.
♥





I really want to experiment with lighting, and have wanted softboxes for years! But considering my only cameras at the moment are a film one and my phone…I don't know if it's worth buying them! But I love the difference between one and two softboxes, you can definitely notice the shadows/lack of.Ooooh, excited to see the results of the lighting in a video!Meg | Elmpetra
It'd be interesting to see how they work with film! I bet you could create some really interesting effects? They usually sell the softboxes in pairs, and it's /such/ a difference between one and two it really surprised me! The lights themselves are quite powerful so I didn't think it would be that noticeable, but the 2nd one setup really helps mimic natural lighting much better. 😀
This was so helpful! I'm always so frustrated at the lack of natural light! Where did you get your soft boxes from?Love your blog too! Livlivbehindlenses.blogspot.com
I'm glad you found it helpful! Mine are from amazon, (around £35, though I had to jimmy them a bit for the bulb to fit) but I'd suggest possibly going for a slightly more expensive price point and definitely british made (the bulbs mine came with contain mercury so I have to be Very Very careful with them). They're SUCH A GOOD INVESTMENT THOUGH. xo
Taking pictures without natural light is such a struggle, so this was a great article to read! Paige | thattouchofpink.com
I think i would always opt for natural light (not necessarily direct sunlight as it can trigger too much shadows) as it creates smooth softness and has equal brightness throughout on your pics. With an external light, I would only go with one that casts out any shadows and is really strong in lighting the entire object. I saw a DIY lightbox (cardboard) on Laura's blog once (www.lovedbylaura.com) and she had external lights from both sides (left and right) for optimal use. Maybe that's worth a try? Caz | Style Lingua